

Table of Contents
ToggleSetting up a two-person home office isn’t as simple as shoving two desks into a spare bedroom. Whether it’s a couple working from home, roommates sharing a workspace, or a parent-child assignments station, a poorly planned dual-desk setup can lead to distractions, tangled cables, and territorial disputes. The good news? With thoughtful layout planning and the right furniture pairing, a shared workspace can boost productivity for both users without feeling cramped or chaotic. This guide walks through proven layout configurations, critical spacing measurements, and furniture selection strategies that turn a multi-user office into a functional, efficient workspace.
Key Takeaways
- A two-person home office layout eliminates chair-swapping and allows each person to maintain their own organizational system and tech setup without compromise.
- The best configurations for shared spaces are L-shaped corners for efficient room use, side-by-side desks with 24–30 inches separation, or back-to-back desks that minimize distraction while preserving floor space.
- Proper measurements are critical: aim for at least a 10 x 12-foot room, maintain 36 inches of clearance behind each chair, and ensure each desk has access to two separate outlets to avoid fire hazards from daisy-chained power strips.
- Invest in quality adjustable-height desks (electric models, $400–$800) and ergonomic task chairs ($150–$400 each) to prevent fatigue and back pain during extended work sessions.
- Strategic cable management with wall-mounted raceways and fabric sleeves, combined with smart furniture pairing and storage integration, transforms a two-person home office layout into a functional, clutter-free workspace.
Why a Two-Desk Setup Works for Shared Home Offices
A dedicated desk for each person eliminates the awkward chair-swapping and monitor adjustments that plague single-desk sharing. Two desks provide individual territory, reducing friction over workspace boundaries and allowing each user to maintain their own organizational system.
From a practical standpoint, dual desks support different work styles. One person might need a sprawling surface for sketches and sample materials, while the other operates with a minimal laptop-and-notebook approach. Separate desks accommodate those differences without compromise.
The setup also enables better cable management and equipment placement. Each workstation can have its own power strip, monitor arm, and task lighting without creating a tangled mess in the center of a shared surface. This is especially valuable when users have different tech needs, one running dual monitors and a docking station, the other with just a tablet and wireless keyboard.
Another overlooked benefit: scheduling flexibility. When both desks are properly equipped, users can work simultaneously on video calls without acoustic interference, provided the layout accounts for sound management (more on that in the configuration section). This beats the alternative of coordinating schedules around a single workspace.
Essential Layout Configurations for Two-Person Workspaces
Side-by-Side Desk Arrangement
The side-by-side setup places two desks along the same wall, creating parallel workstations. This works well in rectangular rooms with one long wall and is the simplest configuration for rooms with a single window.
Pros: Easy to run shared electrical and data lines along the baseboard. Both users get similar natural light exposure. Minimal floor space consumed if desks are pushed against the wall.
Cons: Users sit in each other’s peripheral vision, which can be distracting during video calls or focused work. Requires at least 10–12 feet of wall length for two standard 48–60 inch desks with breathing room between them.
For this layout, position desks with 24–30 inches of separation, enough space to avoid elbow collisions but close enough to share a central filing cabinet or printer stand. If one user takes frequent calls, consider adding a small privacy panel or room divider between the desks. These are available as desk-mounted acoustic panels (typically 24 inches high) that don’t require permanent installation.
Another variation: stagger the desks by 12–18 inches front-to-back so users aren’t perfectly aligned. This subtle offset reduces the feeling of being watched and can improve focus.
L-Shaped and Corner Configurations
Corner setups make efficient use of awkward room geometry. Two desks arranged in an L-shape, either as separate units or as dedicated L-shaped workstations, maximize square footage while giving each person a distinct work zone.
Option 1: Shared corner. Position two rectangular desks perpendicular to each other, meeting at a corner. Each user faces a different wall. This creates natural separation, users are at 90 degrees to each other, minimizing visual distraction.
Option 2: Floating L. Pull the L-configuration away from walls into the center of the room. This requires more floor space but improves access to both desks and works well in rooms with windows on multiple walls. It’s also easier to run power and data if you’re installing an in-floor outlet box (a worthwhile upgrade for finished basement offices or rooms without adequate wall outlets).
For L-shaped setups, ensure each desk leg has at least 48 inches of clearance for the chair and person. Tight corners create bottlenecks when both users need to move simultaneously.
If the room has built-in features like a closet or alcove, integrating built-in cabinetry can tie the L-shape together while adding much-needed storage.
Facing Desks and Back-to-Back Options
Facing desks, positioned like a conference table, are common in design blogs but tricky in practice. Sitting face-to-face creates constant eye contact, which most people find uncomfortable during long work sessions. That said, it works for teams who collaborate frequently and prefer quick check-ins without swiveling around.
Minimum spacing for facing desks: 60 inches between desk edges (that’s 48 inches for two chairs plus 12 inches of knee clearance). Anything tighter feels confrontational.
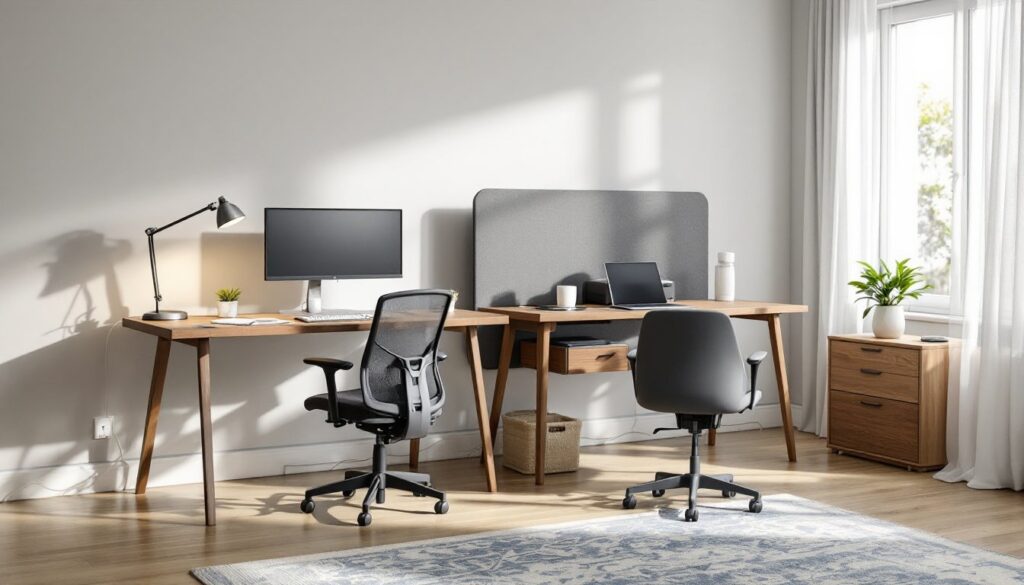
A better alternative: back-to-back desks. This layout positions two desks so users sit with their backs to each other, often in the center of the room. It preserves floor space, allows each person to face a wall (ideal for reducing screen glare from windows), and minimizes distraction.
For back-to-back setups, add a low credenza or storage unit between the desk backs. This serves double duty: it holds shared supplies and acts as a subtle privacy barrier without blocking sightlines across the room. Many modular office systems offer compatible credenzas that are 24–30 inches tall, tall enough to prevent desktop clutter from spilling into the other person’s view, low enough to maintain an open feel.
When arranging back-to-back desks, run power cables down through a shared cable management channel or use a floor-mounted power strip to avoid tripping hazards in the middle of the room.
Space Planning and Measurements for Dual Desk Setups
Before buying furniture, map out the room on graph paper or use a free online room planner. Note actual dimensions, not just rough estimates, those extra six inches matter when you’re trying to fit two desks and maintain walking paths.
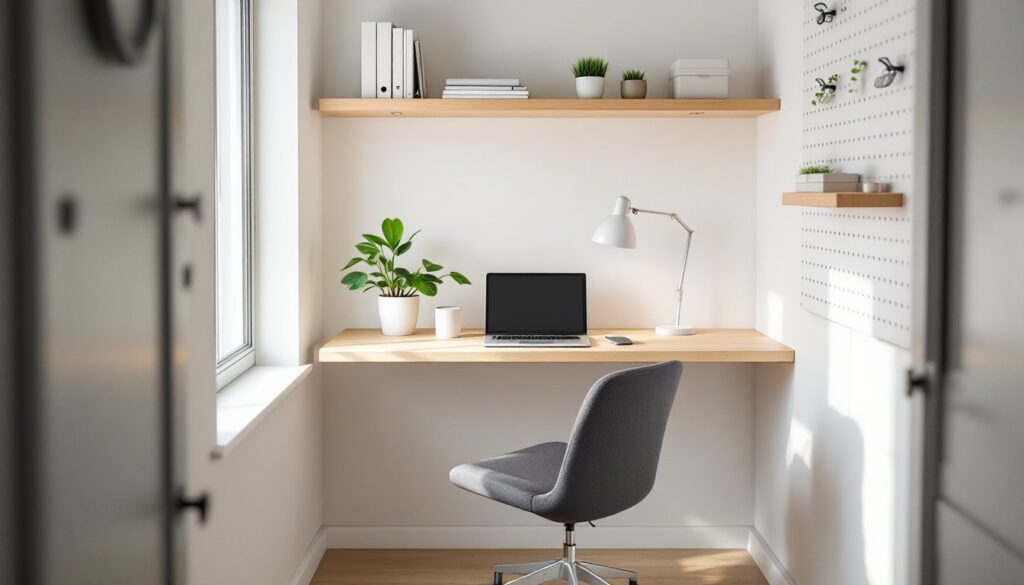
Minimum room size for two desks: A 10 x 10-foot room can technically hold two small desks, but it’ll feel tight. For comfort and functionality, aim for 10 x 12 feet or larger. Rooms smaller than this should consider compact desk options or wall-mounted fold-down desks for one workstation.
Desk depth: Standard desks are 24–30 inches deep. Go with 30 inches if either user needs dual monitors or prefers spreading out materials. Shallow 24-inch desks work for laptop-only setups and save precious floor space in smaller rooms.
Clearance and walkways: Leave 36 inches of clear space behind each chair for backing up and standing. If the room has only one entry door, ensure there’s a 36-inch-wide path from the door to each desk, this is the minimum for comfortable access and meets general accessibility guidelines.
Electrical planning: Each desk should have access to at least two outlets, one for computer equipment, one for desk lamp and accessories. If the room has outlets on only one wall, you’ll need to run power strips or, better yet, hire an electrician to add outlets on opposite walls. Daisy-chaining multiple power strips violates NEC (National Electrical Code) in most jurisdictions and creates a fire hazard. A licensed electrician can install additional 15- or 20-amp circuits for around $150–$300 per outlet, depending on wall construction and local rates.
Window and light placement: Position desks so monitors aren’t facing windows directly, this causes glare. Instead, orient desks perpendicular to windows so natural light comes from the side. For rooms with windows on only one wall, consider sheer window treatments or adjustable blinds to diffuse harsh midday sun.
HVAC and climate: Avoid placing desks directly under ceiling vents, especially if one user runs hot and the other runs cold. Redirector baffles (plastic vent covers that clip onto ceiling registers) cost under $10 and can angle airflow away from workstations.
Furniture Selection and Desk Pairing Strategies
Matching vs. mismatched desks: There’s no functional reason both desks need to match, but visual cohesion makes a room feel more intentional. If budgets or availability require mixing furniture, stick to a consistent material palette, two wood desks in different finishes looks deliberate: one wood desk and one glass desk looks accidental.
Adjustable-height desks: If even one user wants a sit-stand option, invest in a quality electric standing desk converter or full adjustable-height desk. Manual crank models exist but are inconvenient enough that users stop adjusting them after a few weeks. Electric models from reputable manufacturers typically support 225–300 pounds, cost $400–$800, and include programmable height presets. They’re worth the investment if one person spends six-plus hours at the desk daily. The other desk can remain fixed-height if that user prefers sitting.
Storage integration: Two desks often mean doubled clutter. Plan for storage from the start. Options include:
- Rolling file pedestals that tuck under desks (15–18 inches wide, 20–24 inches deep).
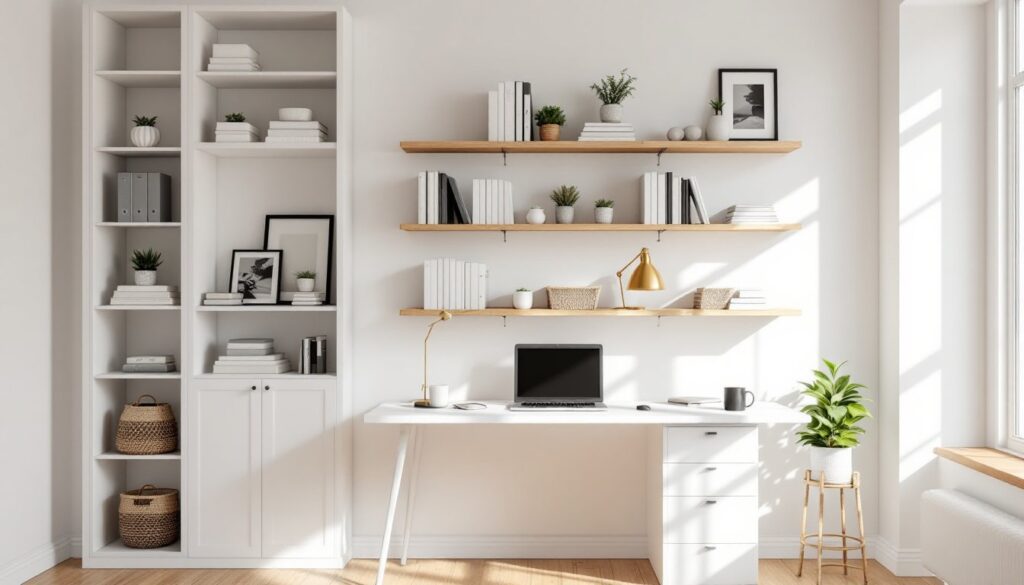
- Wall-mounted shelving above desks, install shelves at least 18 inches above the desktop to avoid head clearance issues.
- Shared credenza positioned between back-to-back desks or along a third wall.
Most commercial file cabinets are 28–30 inches tall, which also makes them useful as printer stands or side surfaces for task lighting.
Cable management: Two users means twice the cable chaos. Install cable raceways (plastic channels that mount to the wall or desk edge) to run power and data lines neatly. For desks in the room’s center, use cable sleeves (fabric zipper tubes) to bundle cords running to floor outlets. These cost $10–$20 and prevent tripping hazards.
Chair clearance and ergonomics: Don’t skimp on chairs. Each user needs a task chair with adjustable seat height, lumbar support, and armrests. Chairs should allow users to sit with feet flat on the floor (or on a footrest), thighs parallel to the ground, and elbows at 90 degrees when typing. Budget $150–$400 per chair for decent quality: anything cheaper will lead to back pain and poor posture.
When testing layouts, sit in the chairs and check for adequate clearance when both users swivel, recline, or push back simultaneously. Chairs with 5-point caster bases maneuver better in tight spaces than four-point bases. For rooms with hardwood or tile, use hard-surface casters: carpeted rooms need soft-tread casters to roll smoothly.
Design cohesion: For those leaning toward a minimalist aesthetic, two identical desks in clean lines, no drawer units, simple surfaces, can reinforce a clutter-free visual. Pair them with matching task lighting and limit desktop accessories. For a more eclectic approach, you can source inspiration from design-forward resources like Homedit, which regularly features dual-workspace layouts that balance function with style.
DIY desk builds: If you’re handy, building custom desks gives total control over dimensions and finish. Resources like The Handyman’s Daughter offer straightforward plans for desktop builds using 2×4 or 2×6 framing, plywood tops, and pipe legs or hairpin legs. A DIY desk surface from a single 4 x 8-foot sheet of ¾-inch birch plywood (roughly $60–$80) can be cut in half for two 48-inch desks or used full-width for a shared workstation. Finish with polyurethane or a water-based sealer for durability. Total cost for two basic desks: around $200 in materials if you already own basic tools (circular saw, drill, orbital sander).
Final note on selection: Avoid ultra-cheap particleboard desks for dual-user offices. These often sag under the weight of dual monitors and can’t handle the wear of daily use by two people. Look for desks with solid wood, plywood, or MDF cores and laminate or veneer surfaces rated for office use. Good desks support at least 100 pounds evenly distributed.