
Table of Contents
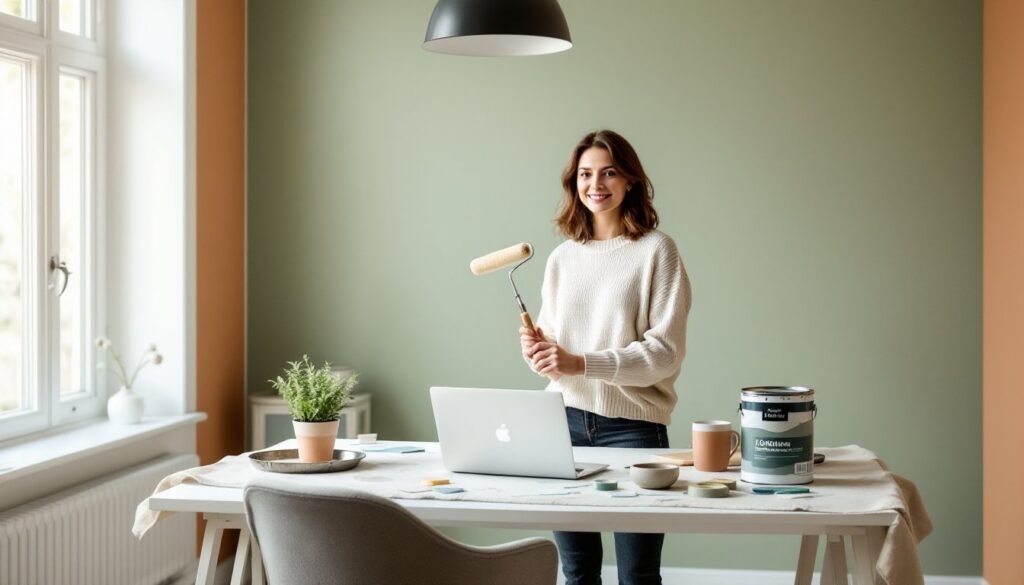
ToggleFloating shelves have become the go-to solution for home offices that need storage without the bulk. Unlike traditional bookcases or bulky cabinets, floating shelves mount directly to the wall with hidden brackets, creating clean lines and freeing up floor space. They’re particularly useful in tight quarters where every square foot counts. But installation isn’t quite as simple as eyeballing a spot and driving in a few screws, proper anchoring into studs or using heavy-duty wall anchors is critical, especially when shelves will hold books, equipment, or decorative items. This guide walks through smart placement strategies, styling approaches, and installation tips to make floating shelves work hard in any office setup.
Key Takeaways
- Floating shelves office ideas solve three critical storage problems—storage, organization, and visual clutter—by providing accessible vertical storage without consuming floor space in home offices.
- Proper installation requires locating wall studs or using heavy-duty toggle bolts rated for 50–75 pounds; standard drywall anchors are insufficient for shelves holding books or equipment.
- Position shelves 12–18 inches above your desk for convenient access to daily-use items, and consider staggered arrangements for dual-monitor setups to avoid visual competition with screens.
- Apply the rule of thirds when styling floating shelves: fill two-thirds with functional items and leave one-third open or for decorative objects to maintain a clean, minimal aesthetic.
- Corner configurations and vertical ladder arrangements maximize small office spaces, with shelves spaced 14–16 inches apart to accommodate standard books and binders while keeping everything within reach.
- Material choice impacts durability and aesthetics—solid wood offers strength and timelessness, while MDF or laminate shelves are budget-friendly but better suited for lighter loads like office supplies and decor.
Why Floating Shelves Are Perfect for Home Offices
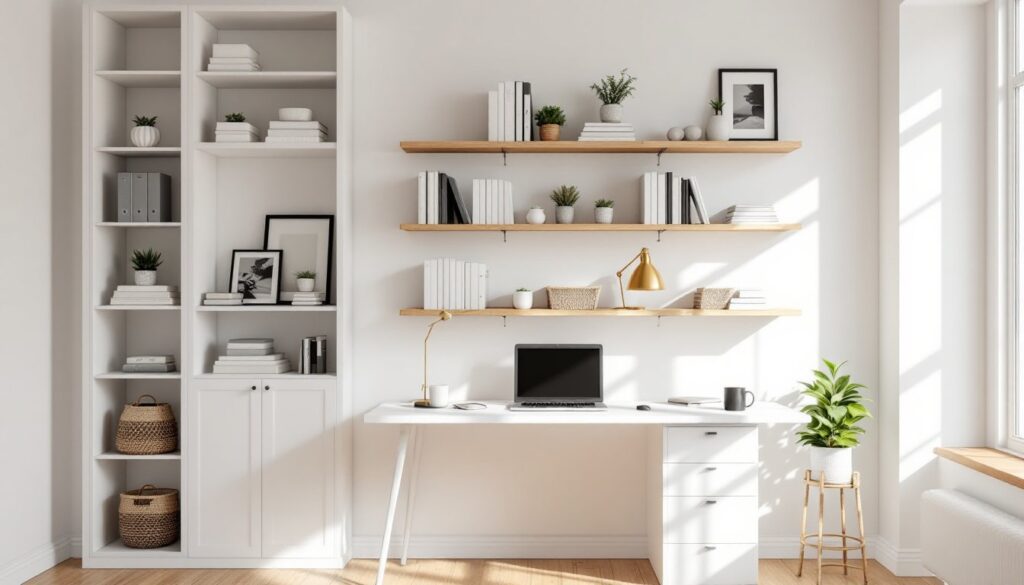
Floating shelves solve three common office problems at once: storage, organization, and visual clutter. By mounting shelves 12–18 inches above a desk surface, users keep frequently used items within arm’s reach without sacrificing desktop real estate. This vertical storage approach works especially well in rooms with limited floor space or awkward layouts.
From a structural standpoint, most floating shelves rely on concealed bracket systems, either internal metal rods that insert into the shelf itself or hidden L-brackets behind the back edge. Quality brackets can support 50–100 pounds per shelf depending on wall anchoring and shelf depth. That’s enough capacity for reference books, binders, office supplies, and even small printers.
Floating shelves also adapt easily to changing needs. Unlike built-in cabinetry, they can be repositioned, added, or removed without major wall repair. Pair this flexibility with the variety of materials available, solid wood, MDF, metal, or laminate, and it’s clear why they’ve become a staple in modern office storage solutions.
One often-overlooked advantage: floating shelves don’t interrupt sightlines the way a tall bookcase does. In shared or multipurpose rooms, this keeps the space feeling open while still providing function.
Best Placement Ideas for Floating Shelves in Your Office
Above Your Desk for Essential Supplies
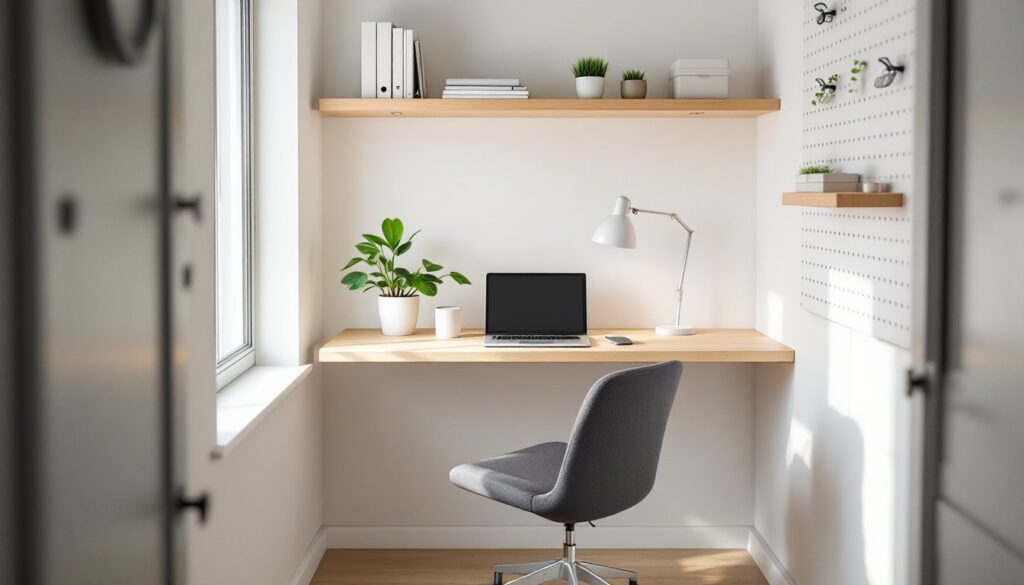
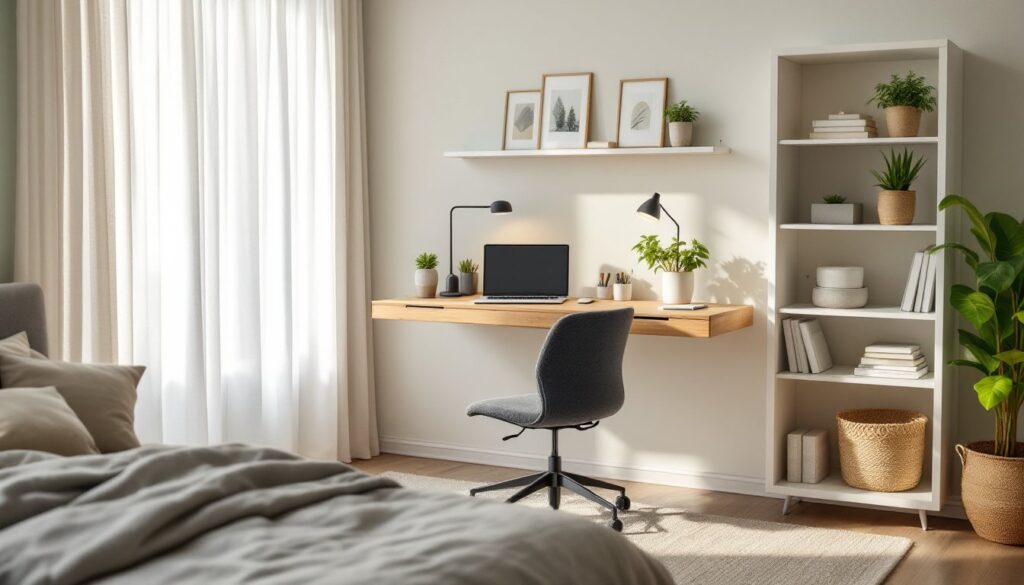
Mounting shelves 12–18 inches above the desktop creates a convenient zone for items used daily, notebooks, charging cables, desk lamps, or a small speaker. This height keeps items accessible without requiring the user to stand or stretch awkwardly.
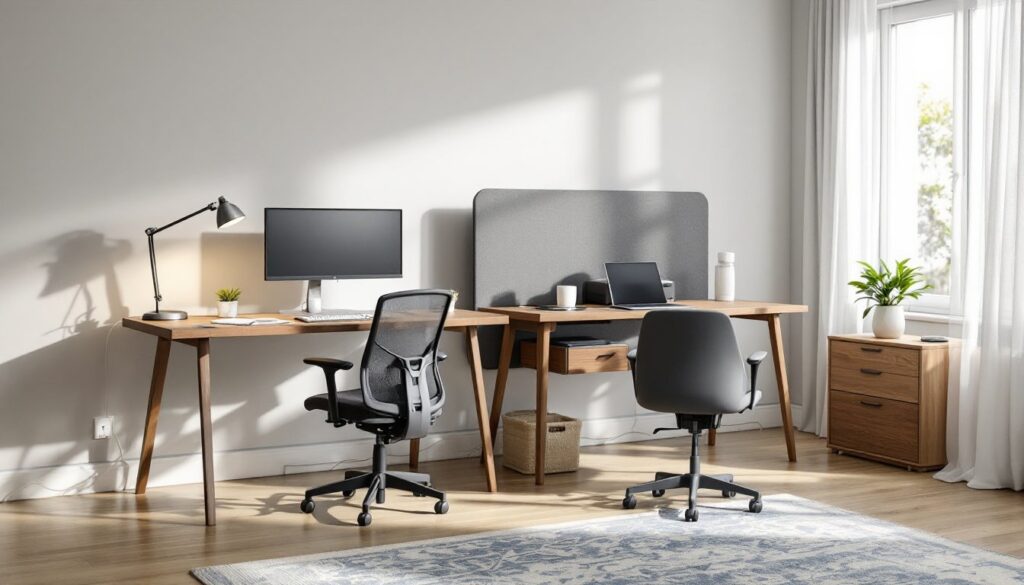
For dual-monitor setups, consider spacing two shorter shelves (24–36 inches each) on either side of the screens rather than installing one long shelf across the full desk width. This prevents the shelf from visually competing with the monitors and reduces the risk of bumping your head when leaning forward.
When positioning shelves above a desk, always account for task lighting. If a desk lamp sits on the work surface, the shelf shouldn’t block the light path. Alternatively, mount under-shelf LED strip lights to illuminate both the shelf contents and the desk below, these typically draw minimal power and produce little heat.
Shelf depth matters here. For offices with limited reach or deeper desks, stick with 8–10 inch deep shelves. Anything deeper than 12 inches can feel imposing and make it harder to access items pushed toward the back.
Corner Configurations to Maximize Small Spaces
Corner shelving transforms dead space into functional storage. L-shaped corner shelves or staggered single shelves installed at varying heights create visual interest while maximizing every inch. This approach works particularly well in small home offices or converted closets where traditional furniture won’t fit.
For true corner installations, use shelves specifically designed with a 90-degree joint, or miter two separate shelves together if working with solid wood. The joint needs support on both walls, locate at least one stud on each adjacent wall, or use toggle bolts rated for 50+ pounds in drywall.
Another option: install shelves in a vertical ladder arrangement along one corner wall. Spacing shelves 14–16 inches apart vertically provides enough room for standard books and binders while keeping everything within reach. This configuration pairs well with creative office decorating approaches that emphasize vertical space.
Creative Styling Ideas for Office Floating Shelves
Functional styling means balancing storage with visual breathing room. A common mistake is overloading every inch of shelf space, this creates visual clutter and defeats the clean, minimal look that makes floating shelves appealing in the first place.
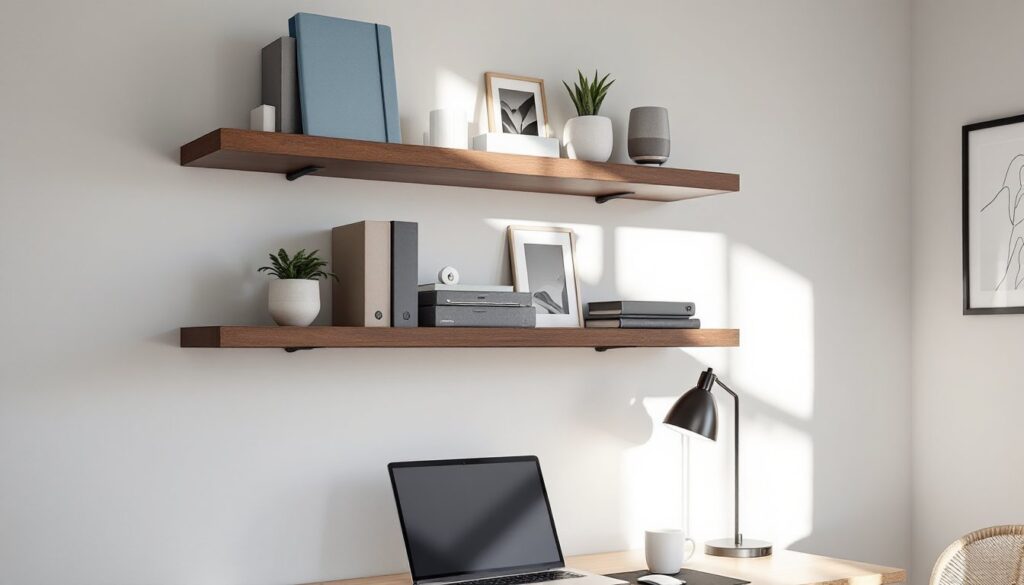
Use the rule of thirds for styling: fill roughly two-thirds of the shelf with functional items (books, file boxes, desk supplies) and leave one-third open or occupied by decorative objects. Group books by height or color, and use bookends to keep them upright without sagging.
Storage bins and boxes add both function and polish. Choose boxes that are 1–2 inches shorter than the vertical clearance between shelves to make them easy to slide in and out. Label the front edge or use clear acrylic bins so contents remain visible.
For a more tailored aesthetic in masculine spaces, consider matte black metal shelves with industrial-style brackets, paired with leather desk accessories and dark-stained wood accents. In lighter, more neutral offices, natural wood shelves or white lacquered finishes keep the look airy.
Don’t shy away from mixing materials. A floating wood shelf above a metal desk creates contrast without clashing, especially when the wood tone matches other furniture in the room. Incorporating elements like small potted plants, framed art, or a single sculptural object breaks up rows of books and adds personality.
Consider integrating wall art between shelf levels or on adjacent walls to create a cohesive gallery effect. This approach works especially well when shelves are arranged asymmetrically.
Choosing the Right Floating Shelves for Your Office Style
Shelf material and finish should align with both the office aesthetic and the intended load. Solid wood shelves, commonly available in oak, walnut, pine, or maple, offer the best strength and a timeless look. Expect to pay $30–$80 per shelf depending on length and wood species. Solid wood handles weight well and can be sanded and refinished if scratched.
MDF or particleboard shelves with laminate or veneer finishes cost less ($15–$40 per shelf) and come in a wide range of colors and textures. They’re adequate for lighter loads, office supplies, decorative items, a few paperbacks, but aren’t ideal for heavy reference books or equipment. Over time, cheaper laminate can chip at the edges.
For industrial or modern offices, metal or tempered glass shelves provide a sleek, minimalist appearance. Metal shelves powder-coated in black or brushed nickel pair well with contemporary desks and filing systems. Glass shelves work best for display rather than heavy storage, and they require more frequent cleaning to avoid visible fingerprints and dust.
Shelf thickness also impacts the overall look. Thicker shelves (1.5–2 inches) convey a more substantial, custom-built appearance, while thinner profiles (0.75–1 inch) read as lighter and more modern. Keep in mind that thicker shelves often require beefier brackets or internal support rods.
Bracket style matters too. Concealed brackets give the true “floating” effect, but visible brackets, especially in decorative finishes like oil-rubbed bronze or matte black, can serve as design elements themselves. For DIY builders, sites like Ana White offer free plans for custom floating shelf projects using standard lumber dimensions.
DIY Installation Tips for Floating Shelves
Proper installation starts with locating wall studs. Use a stud finder to mark stud centers, typically spaced 16 or 24 inches on center in most residential construction. Mounting directly into studs provides the strongest hold, especially for shelves carrying books or equipment.
If studs don’t align with your desired shelf placement, use heavy-duty toggle bolts or molly bolts rated for the expected load. Standard drywall anchors aren’t sufficient for floating shelves holding more than a few pounds. Toggle bolts rated for 50–75 pounds each can support substantial weight when distributed across multiple fasteners.
Before drilling, double-check level and height. Use a 4-foot level and mark a light pencil line where the top or bottom edge of the bracket will sit. Measure from the floor or ceiling at multiple points to ensure the line is parallel, walls and ceilings aren’t always perfectly square.
For shelves with concealed rod-style brackets, drill pilot holes into the wall first, then insert the support rods and slide the shelf onto them. Most rod systems require a snug fit, so measure the interior channel of the shelf carefully before drilling. If the holes are even slightly misaligned, the shelf won’t slide on smoothly.
When installing multiple shelves, maintain consistent spacing. 14–16 inches of vertical clearance between shelves accommodates most books and binders. Use a tape measure and level to mark each shelf position before committing to drilling.
Safety reminder: Wear safety glasses when drilling overhead, and use a dust mask if drilling into older walls that may contain lead paint or asbestos texture (common in homes built before 1980). If you’re unsure about wall composition or load-bearing considerations, consult a professional.
For a polished finish, fill any visible screw holes with wood filler or spackle, then touch up with paint. Designs showcased on sites like Homedit often feature color-matched hardware or painted brackets that blend seamlessly with the wall.