


Table of Contents
ToggleGood kitchen lighting does more heavy lifting than most homeowners realize. It’s not just about visibility, proper fixture placement determines whether you can see the difference between diced and minced garlic, whether guests linger at the island, and whether that quartz countertop you spent too much on actually looks good. In 2026, the options for modern kitchen lighting go far beyond the single ceiling-mounted dome that lit kitchens for decades. This guide breaks down fixture types, installation realities, and the practical decisions that separate a well-lit kitchen from one that feels either like an operating room or a cave.
Key Takeaways
- Effective kitchen lighting fixtures require layering three functional types—ambient, task, and accent lighting—on separate switches or dimmers to shift between bright workspace and softer ambiance.
- Under-cabinet LED strips and pendant lights hung 30-36 inches above countertops eliminate shadows and provide focused illumination in work zones where visibility matters most.
- Modern kitchen lighting fixtures benefit from proper spacing: recessed lights should be positioned 4-5 feet apart in a grid pattern and 18-24 inches from walls to ensure even coverage without dark perimeter zones.
- LED retrofit kits and compact fixtures make upgrading to modern kitchen lighting straightforward, requiring only basic tools and wiring knowledge for fixture swaps, though new circuits require a licensed electrician.
- Fixture selection should match kitchen zones: islands pair with oversized pendants, countertops need task lighting, sinks need overhead lights, and dining areas require proportional chandeliers sized at half to two-thirds the table width.
Understanding the Three Types of Kitchen Lighting
Electricians and lighting designers reference three functional categories, and understanding them prevents the single biggest mistake: relying on one type to do everything.
Ambient lighting provides overall illumination, the base layer. Ceiling kitchen lighting typically handles this: flush-mount or semi-flush fixtures, recessed cans spaced 4-6 feet apart, or linear LED panels. Calculate roughly 20 lumens per square foot for ambient coverage. A 150-square-foot kitchen needs around 3,000 lumens total from ambient sources. Many builders default to recessed lights on a single switch, which technically meets code but leaves you squinting at the stovetop.
Task lighting targets specific work zones where you need focused, shadow-free illumination. Under-cabinet LED strips are the workhorse here, mount them toward the front edge of the cabinet to minimize shadows on the countertop. Pendant lights over an island or peninsula serve double duty as task and accent lighting, but only if hung at the right height (more on that shortly). For small kitchens, compact task lighting fixtures make a noticeable difference without overwhelming limited square footage.
Accent lighting adds dimension and highlights architectural features or displays. This includes in-cabinet lights for glass-front cabinetry, toe-kick LEDs, or directional track heads aimed at artwork. It’s optional, but it’s what makes a kitchen look professionally designed rather than merely functional.
Most successful kitchen lighting plans layer all three types on separate switches or dimmers. That flexibility lets the space shift from bright workspace during meal prep to softer ambiance during dinner.
Popular Kitchen Lighting Fixture Styles
Pendant Lights and Chandeliers
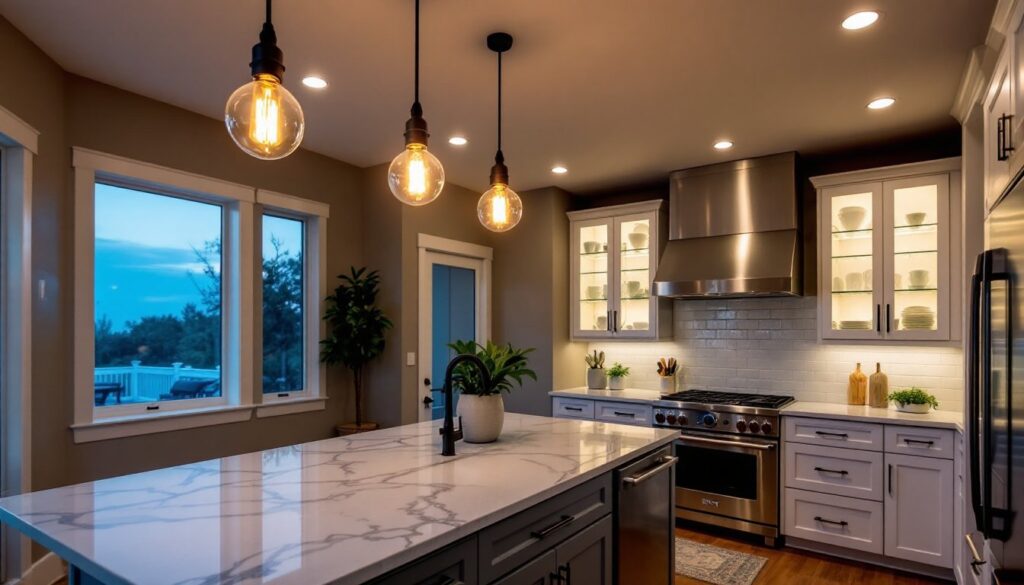
Pendants remain the go-to choice for islands and dining zones, and for good reason, they provide task lighting while anchoring the design. In 2026, the trend leans toward oversized single pendants (14-18 inches in diameter) or clustered mini-pendants in odd numbers. Hang the bottom of the shade 30-36 inches above the countertop for islands, or 30-34 inches above a dining table. Any higher and the light spreads too diffusely: any lower and tall people will smack their heads.
Materials matter for longevity. Glass and metal pendants hold up better in humid kitchens than paper or fabric shades. If choosing multiple pendants, space them evenly, for a 6-foot island, two pendants placed 18 inches from each end works well. For an 8-foot island, three pendants spaced evenly (roughly 24 inches apart) balances better than two.
Chandeliers over kitchen tables have shifted from traditional crystal designs to modern interpretations: geometric cages, drum shades, or exposed-bulb Sputnik styles. Check the fixture weight and ceiling box rating before installation, many decorative chandeliers exceed the standard 50-pound rating of a basic electrical box.
Recessed and Track Lighting
Recessed lights (also called can lights) deliver clean, unobtrusive ambient light. Standard 6-inch cans work in kitchens with 8-foot ceilings: 4-inch cans fit tighter spaces or lower ceilings without looking oversized. LED retrofit kits have made upgrading old incandescent cans straightforward, most trim kits snap or twist into existing housings without rewiring.
Spacing matters: place recessed fixtures 4-5 feet apart in a grid pattern for even coverage, and keep them 18-24 inches from walls to avoid dark perimeter zones. In kitchens with upper cabinets, position the cans in front of the cabinet face rather than inside the footprint, otherwise, the cabinet blocks the downward light.
Track lighting offers flexibility for kitchens with irregular layouts or renters who can’t rewire. Modern track systems use low-voltage LED heads that pivot and adjust. Install tracks parallel to countertops, 18-24 inches out from the wall, and aim heads at work surfaces. Avoid the 1990s mistake of aiming track lights at the ceiling, it highlights dust and wastes lumens.
For small kitchen light fixtures, consider slim-profile LED panels or compact flush-mounts that provide adequate light without visual bulk. These work especially well in galley kitchens or apartments where ceiling height is limited.
Choosing the Right Fixtures for Each Kitchen Zone
Lighting design starts with a kitchen’s functional zones, not with fixture catalogs.
Island or Peninsula: This is where pendant lights shine, literally. For task lighting, aim for 50-75 lumens per square foot over the island surface. If the island doubles as a dining spot, put pendants on a dimmer. Multi-light pendants from designers featured on curated kitchen lighting showcases offer both style and focused illumination without cluttering the sightline.
Countertops and Prep Areas: Under-cabinet lighting is non-negotiable here. LED strip lights or puck lights installed at the front of the cabinet eliminate shadows cast by your body when you’re working. Hardwire them if possible, battery-operated pucks dim quickly and die at inconvenient times. Use warm white (2700-3000K) rather than daylight (5000K+) unless you’re a jeweler: warm tones make food and finishes look better.
Sink: A recessed light or small flush-mount directly over the sink prevents shadows while washing dishes. If your sink sits under a window, you may skip dedicated fixtures during daylight hours, but evening task lighting still matters.
Stove and Range: Most range hoods include integral lighting, typically halogen or LED. If your hood doesn’t light adequately, or you have a cooktop without a hood, add a recessed fixture centered over the burners. Don’t rely on ambient lighting alone, you need to see when something’s about to boil over.
Dining Area: If the kitchen includes an eat-in table, a chandelier or large pendant becomes the focal point. Keep it proportional: the fixture diameter should be half to two-thirds the table width. For example, a 40-inch round table pairs well with a 20-26 inch fixture.
Pantry or Storage Zones: Often overlooked. Motion-sensor LED strips or battery-powered tap lights make grabbing supplies easier. If you’re doing a full remodel, add a switched light inside walk-in pantries, it’s a quality-of-life upgrade that costs $30 in parts.
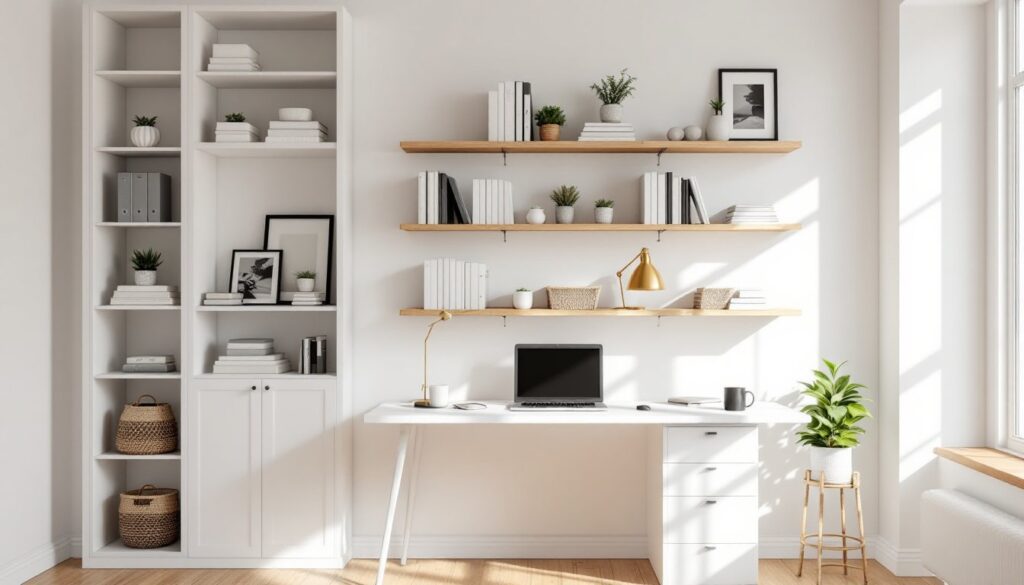
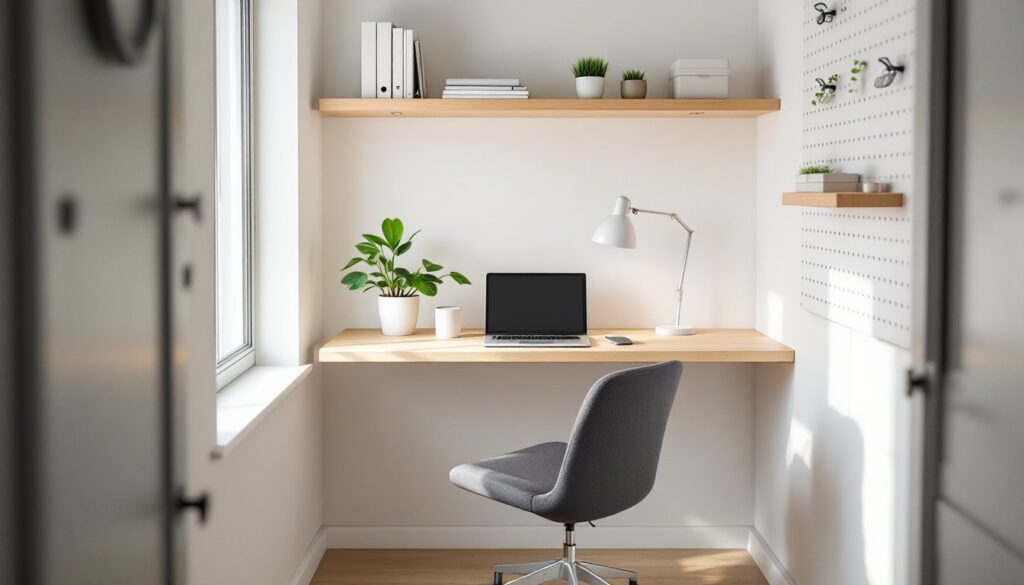
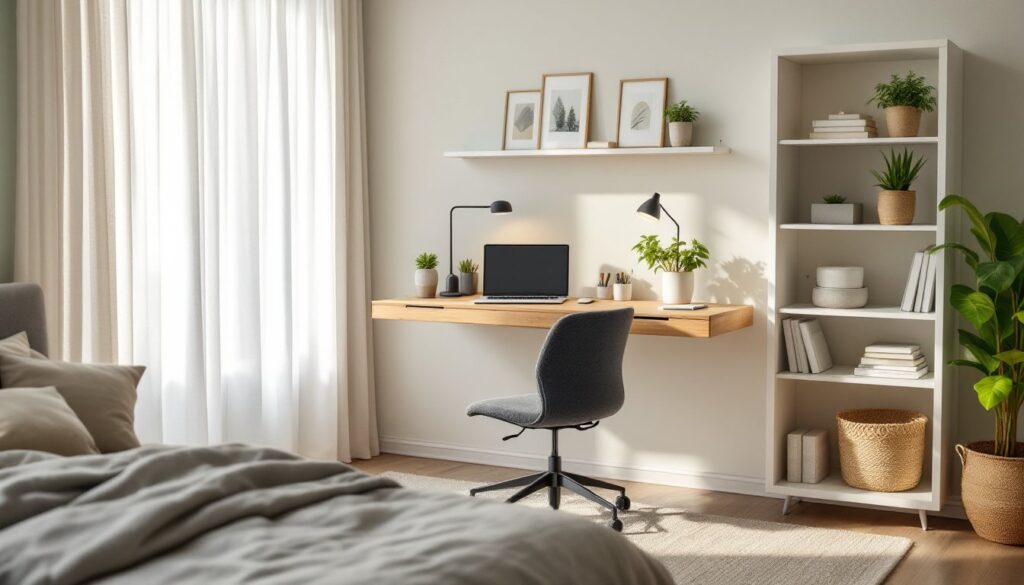
For those renovating adjacent spaces, similar principles apply: living room ceiling lighting benefits from layered ambient and accent sources, bedroom ceiling lights ideas often center around dimmable fixtures for mood control, and home office lighting ceiling should minimize glare on screens while providing adequate task illumination.
Installation Tips and Considerations
Before buying fixtures, confirm what’s behind your ceiling. Locate joists with a stud finder, most kitchen ceiling lighting fixtures mount to a standard electrical box screwed into a joist or secured with an old-work brace bar. If you’re replacing a fixture, the box is already there: if you’re adding new lighting, you’ll need to run cable and install boxes, which may require cutting drywall and patching.
Electrical Code Compliance: The National Electrical Code (NEC) requires GFCI protection for kitchen receptacles within 6 feet of a sink, but lighting circuits don’t require GFCI unless the fixture is directly over the sink and within reach. Most kitchen lighting runs on 15-amp circuits. If you’re adding multiple high-wattage fixtures, calculate the load, LED fixtures have changed the math significantly (a 60W-equivalent LED draws only 8-10 watts).
Permits and Inspections: Adding new lighting circuits or relocating electrical boxes usually requires a permit. Replacing existing fixtures on a like-for-like basis typically doesn’t. Code requirements vary by jurisdiction, so check with your local building department before cutting into walls.
DIY vs. Hiring an Electrician: Swapping a ceiling fixture is straightforward if you’re comfortable with basic wiring: turn off the breaker, confirm power is off with a non-contact voltage tester, match wire colors (black to black, white to white, ground to ground or green), secure with wire nuts, and mount. If you’re adding new circuits, moving switches, or working with older wiring (knob-and-tube or aluminum), hire a licensed electrician. Aluminum wiring, common in homes built 1965-1975, requires special connectors and techniques.
Dimmer Compatibility: Not all LEDs dim smoothly. Match your dimmer to the fixture, many manufacturers specify compatible dimmer models. Cheap dimmers cause LED flicker or buzzing. Lutron and Leviton make reliable LED-compatible dimmers: expect to spend $20-40 per switch.
Weight and Support: Standard ceiling boxes rated for 50 pounds handle most lighting fixtures kitchen renovations require. Heavier chandeliers need a fan-rated box (rated to 70+ pounds) or a ceiling fan brace installed between joists. If you’re hanging a 60-pound fixture and you’re not sure about the box, replace it, it’s a $15 part and 20 minutes of work.
Tools You’ll Need: For most fixture swaps: non-contact voltage tester, screwdriver set (both Phillips and flathead), wire strippers, wire nuts, and a ladder. For new installations: drywall saw, fish tape, cable staples, and possibly a hole saw for recessed cans. Wear safety glasses, old fixtures drop dust and debris.
Finish Selection: Match fixture finishes to existing kitchen hardware and fixtures for visual cohesion. Brushed nickel, matte black, and aged brass dominate 2026 trends, but timeless finishes like polished chrome or oil-rubbed bronze still work if they suit the overall design.
If you’re updating lighting in other rooms, the same installation principles apply. Modern ceiling lights living room installations often involve heavier fixtures requiring reinforced boxes, while bedroom ceiling lighting ideas might emphasize softer, dimmable sources for relaxation. Resources like The Kitchn and Homedit offer design inspiration that can inform your fixture choices across multiple spaces.
Conclusion
Good kitchen lighting isn’t about buying the trendiest fixture or installing the most lights, it’s about layering the right types in the right places and giving yourself control over intensity and mood. Start with a clear plan that addresses ambient, task, and accent needs, then choose fixtures that fit both function and style. Whether swapping a single pendant or rewiring the entire space, the difference between adequate and excellent lighting comes down to intentional placement, proper installation, and understanding how people actually use the kitchen. Do that, and the space works better at every hour of the day.